
|
Help center
From the dashboard, click the Create button and Create session and choose a session type.
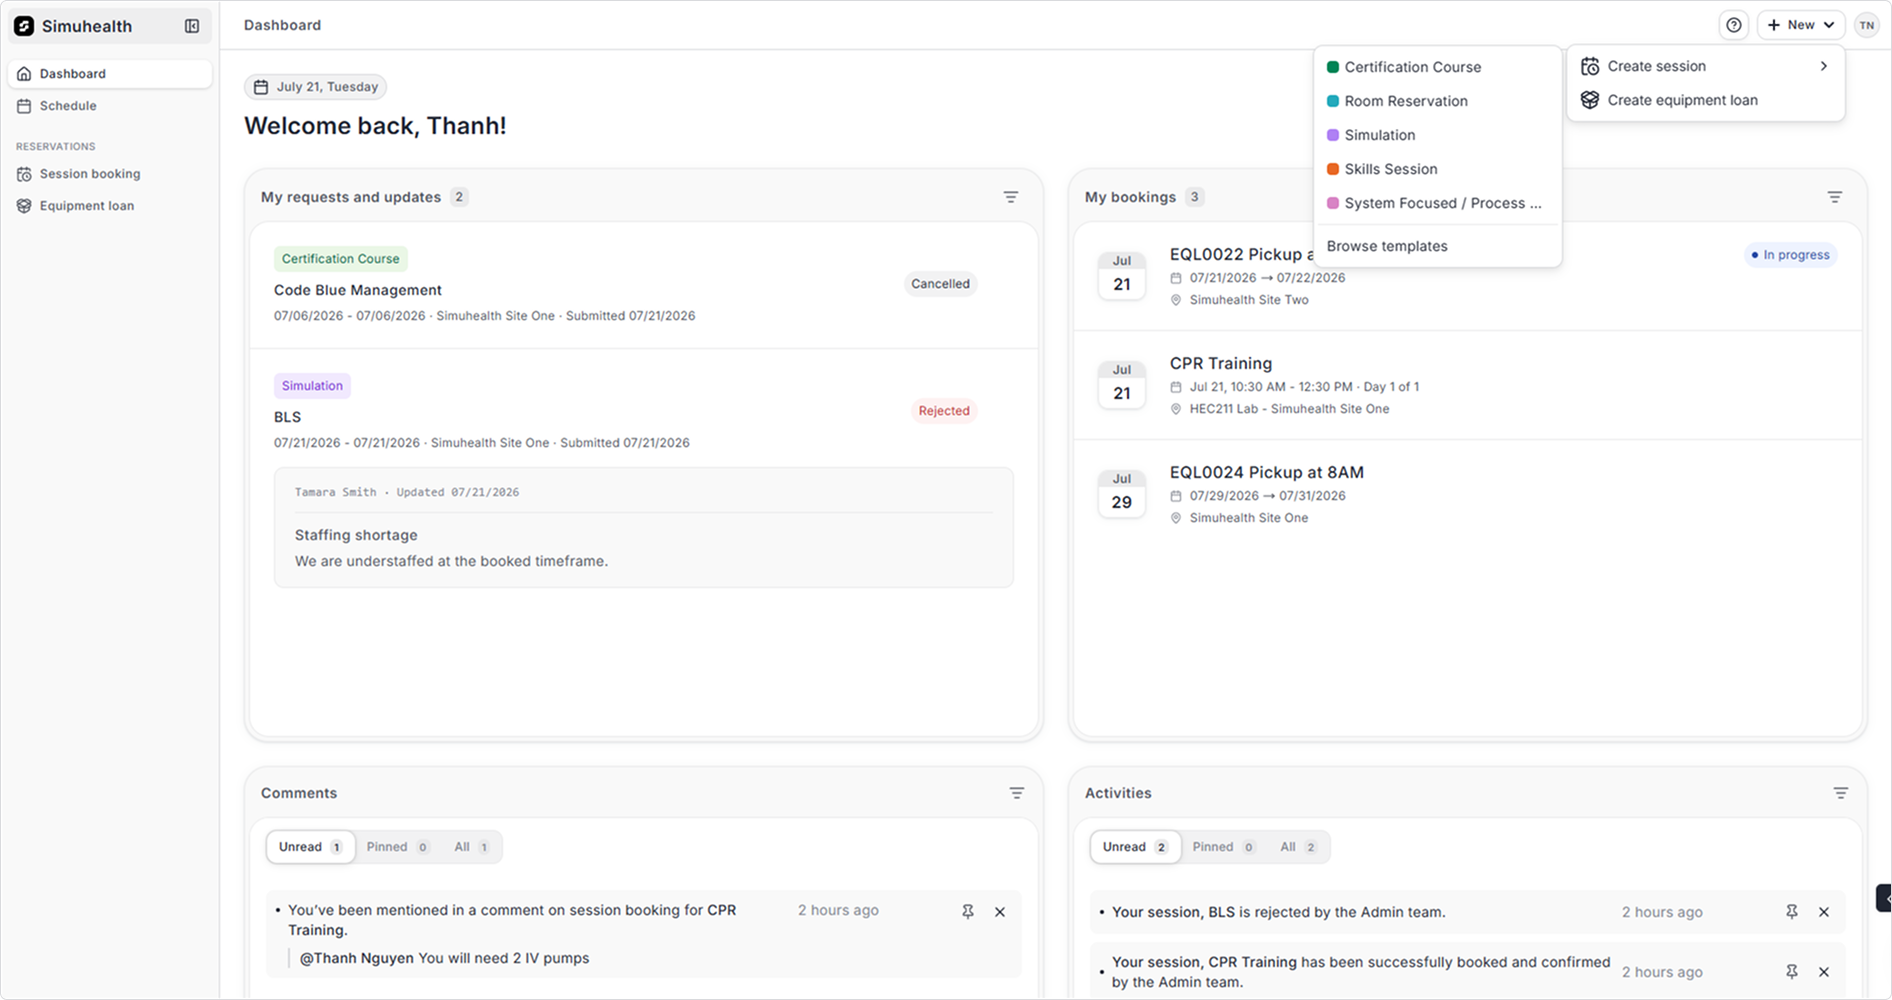
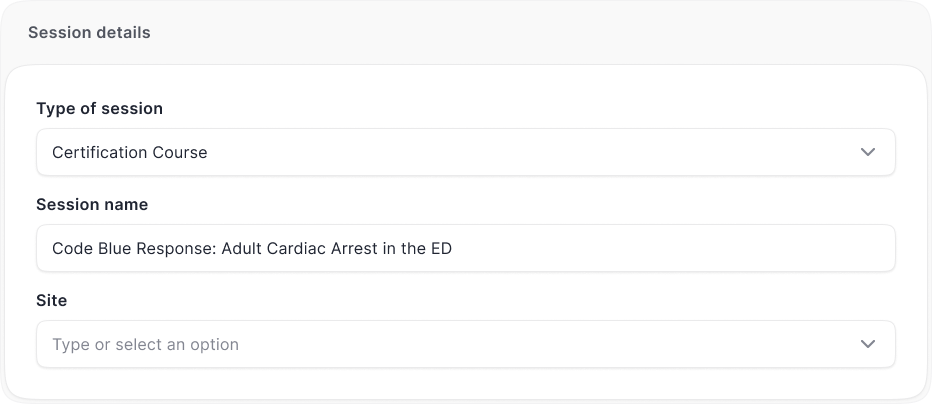
To create a session, start by providing the essential information:
1. Session name: Give your session a clear, descriptive title.
e.g. Code Blue Response: Adult Cardiac Arrest in the ED
2. Session type: This will be prepopulated but you can adjust your selection.
3. Site: Select the site where the session will be conducted
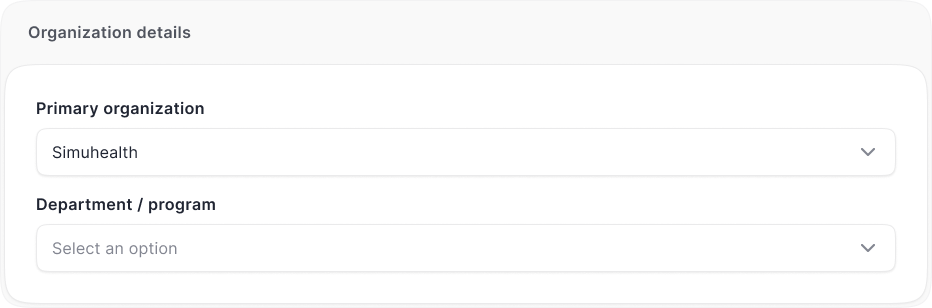
4. Primary organization: This will be prepopulated according to your initial account set up.
5. Department: Select your department.
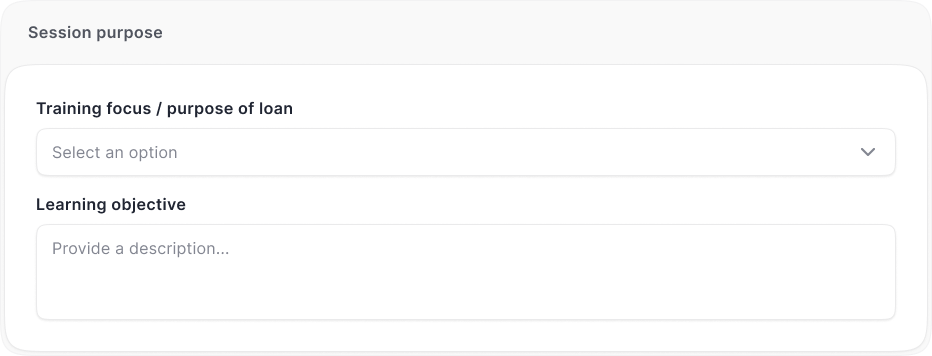
6. Training focus: Define the primary focus area for this session.
e.g. Code Management/CPR
7. Learning objectives: Provide a clear description of what participants will be able to do or demonstrate by the end of this session.
Click Continue to move on to the next step.
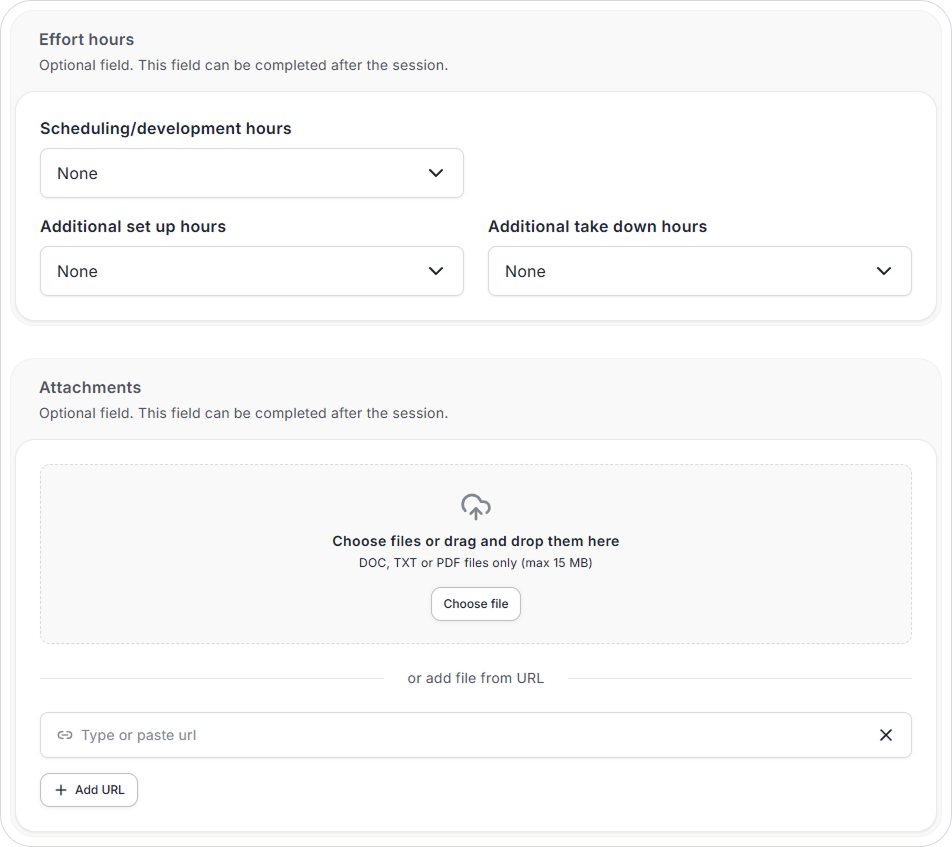
This step allows you to provide additional planning information for your session. You can also enter this information post session as well.
1. Effort hours: Indicate the total effort hours anticipated for planning, conducting , and briefing this session.
2. Attachments:
Click Continue or Skip to move to the next step.
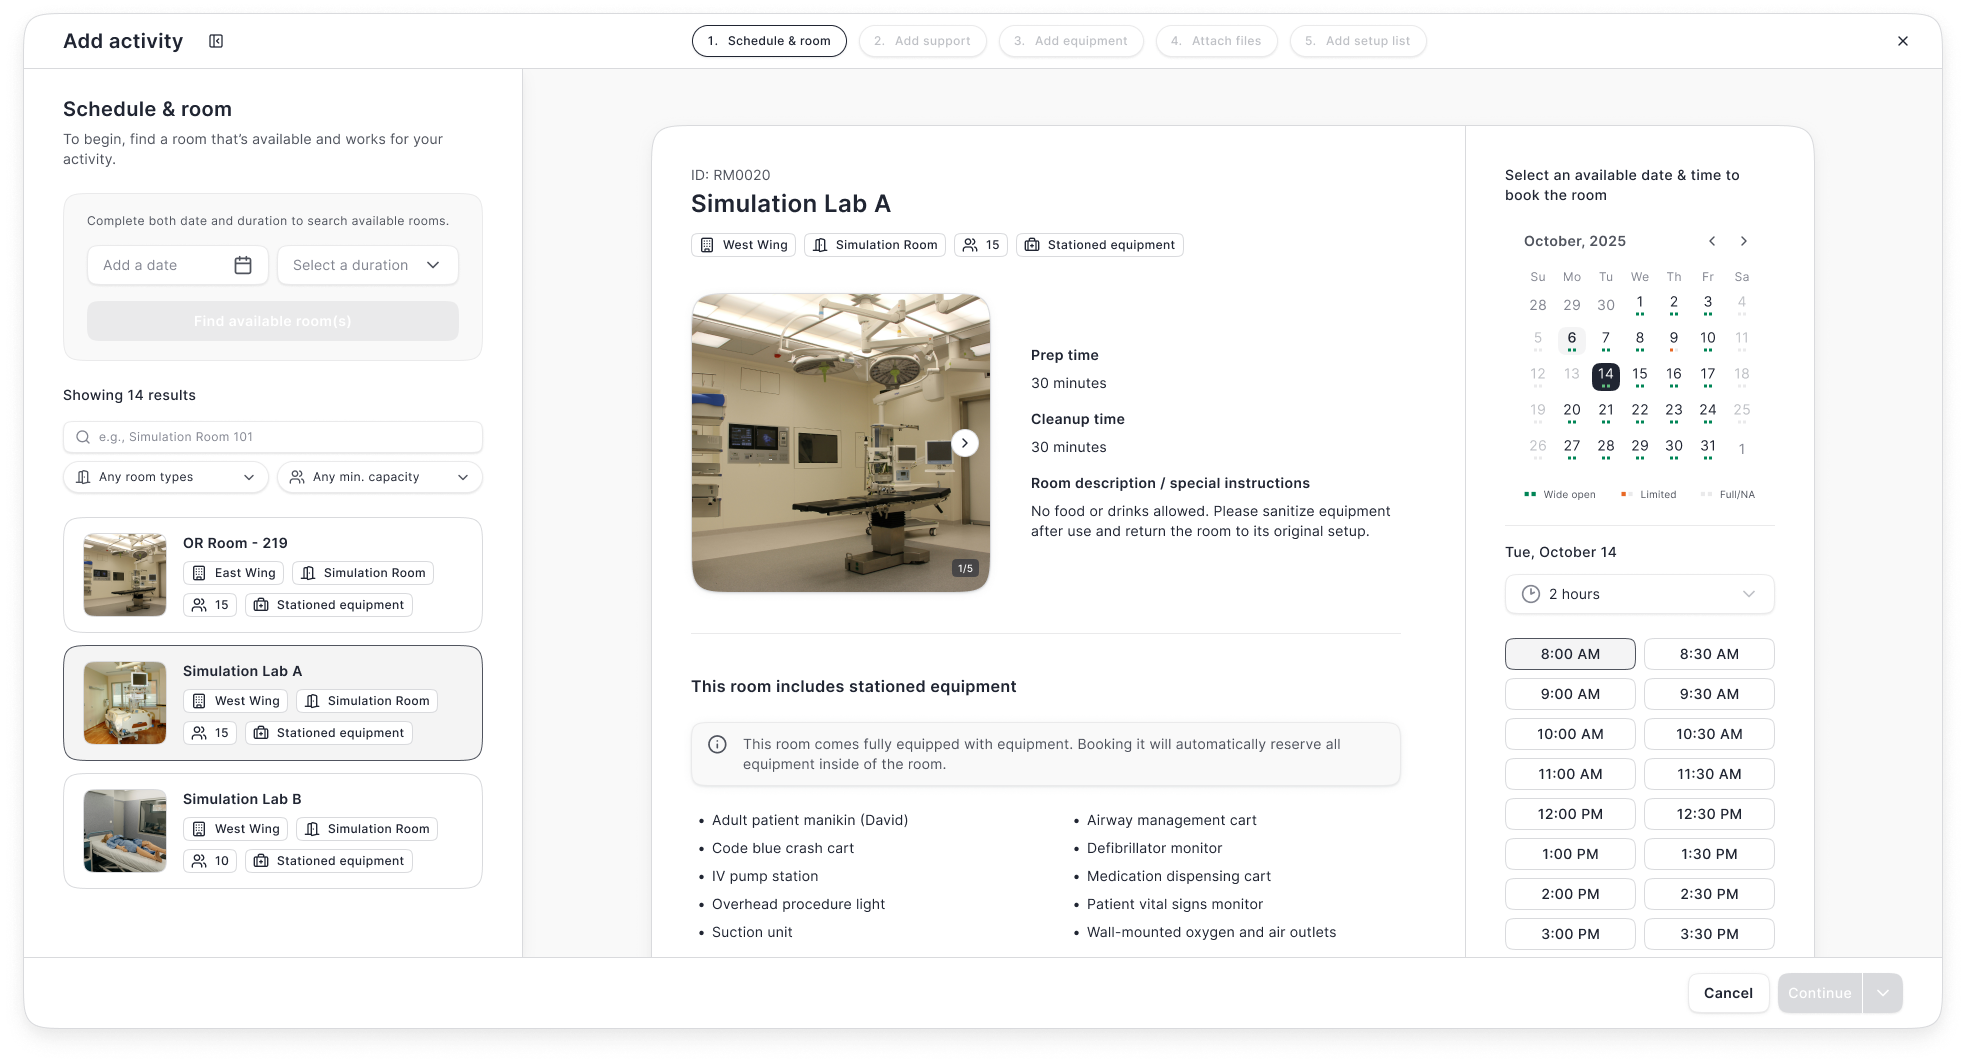
Your session can include one or more activities. Each activity must be assigned to a specific room where it will take place.
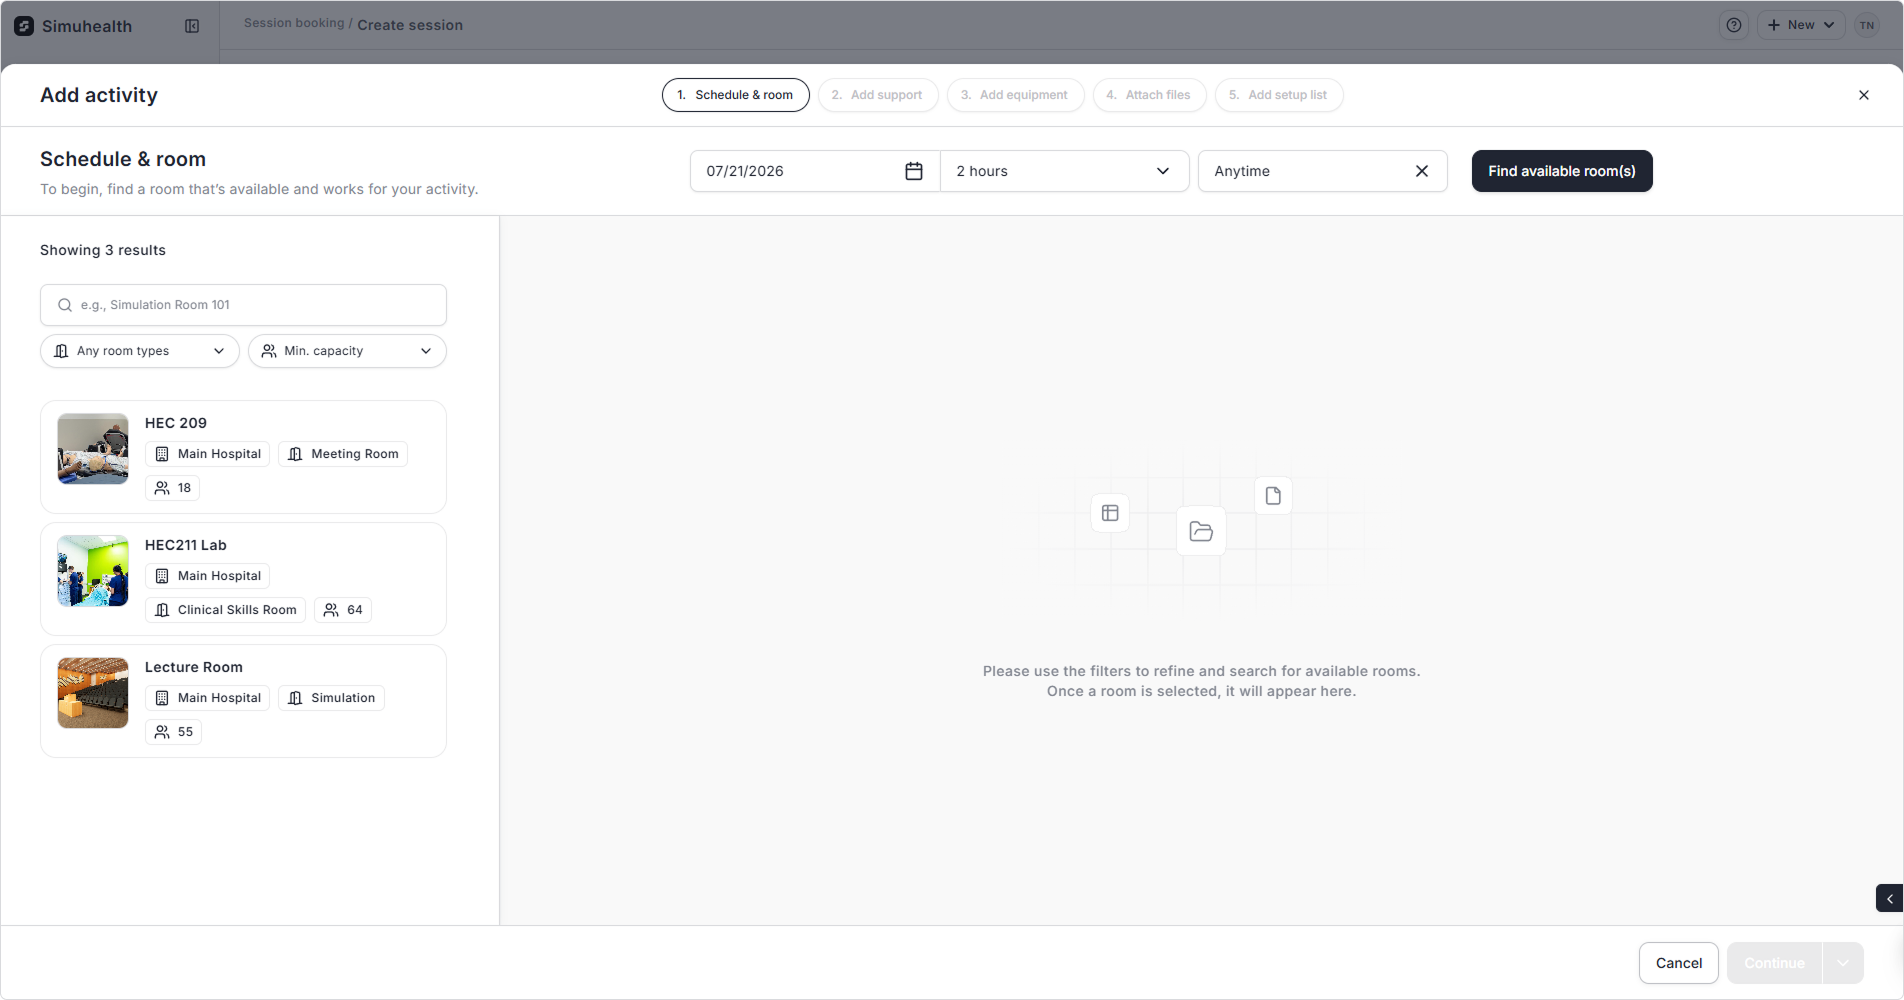
1. Add room (required): Select a date and time and a room that the activity will take place.
2. Optional add-ons:
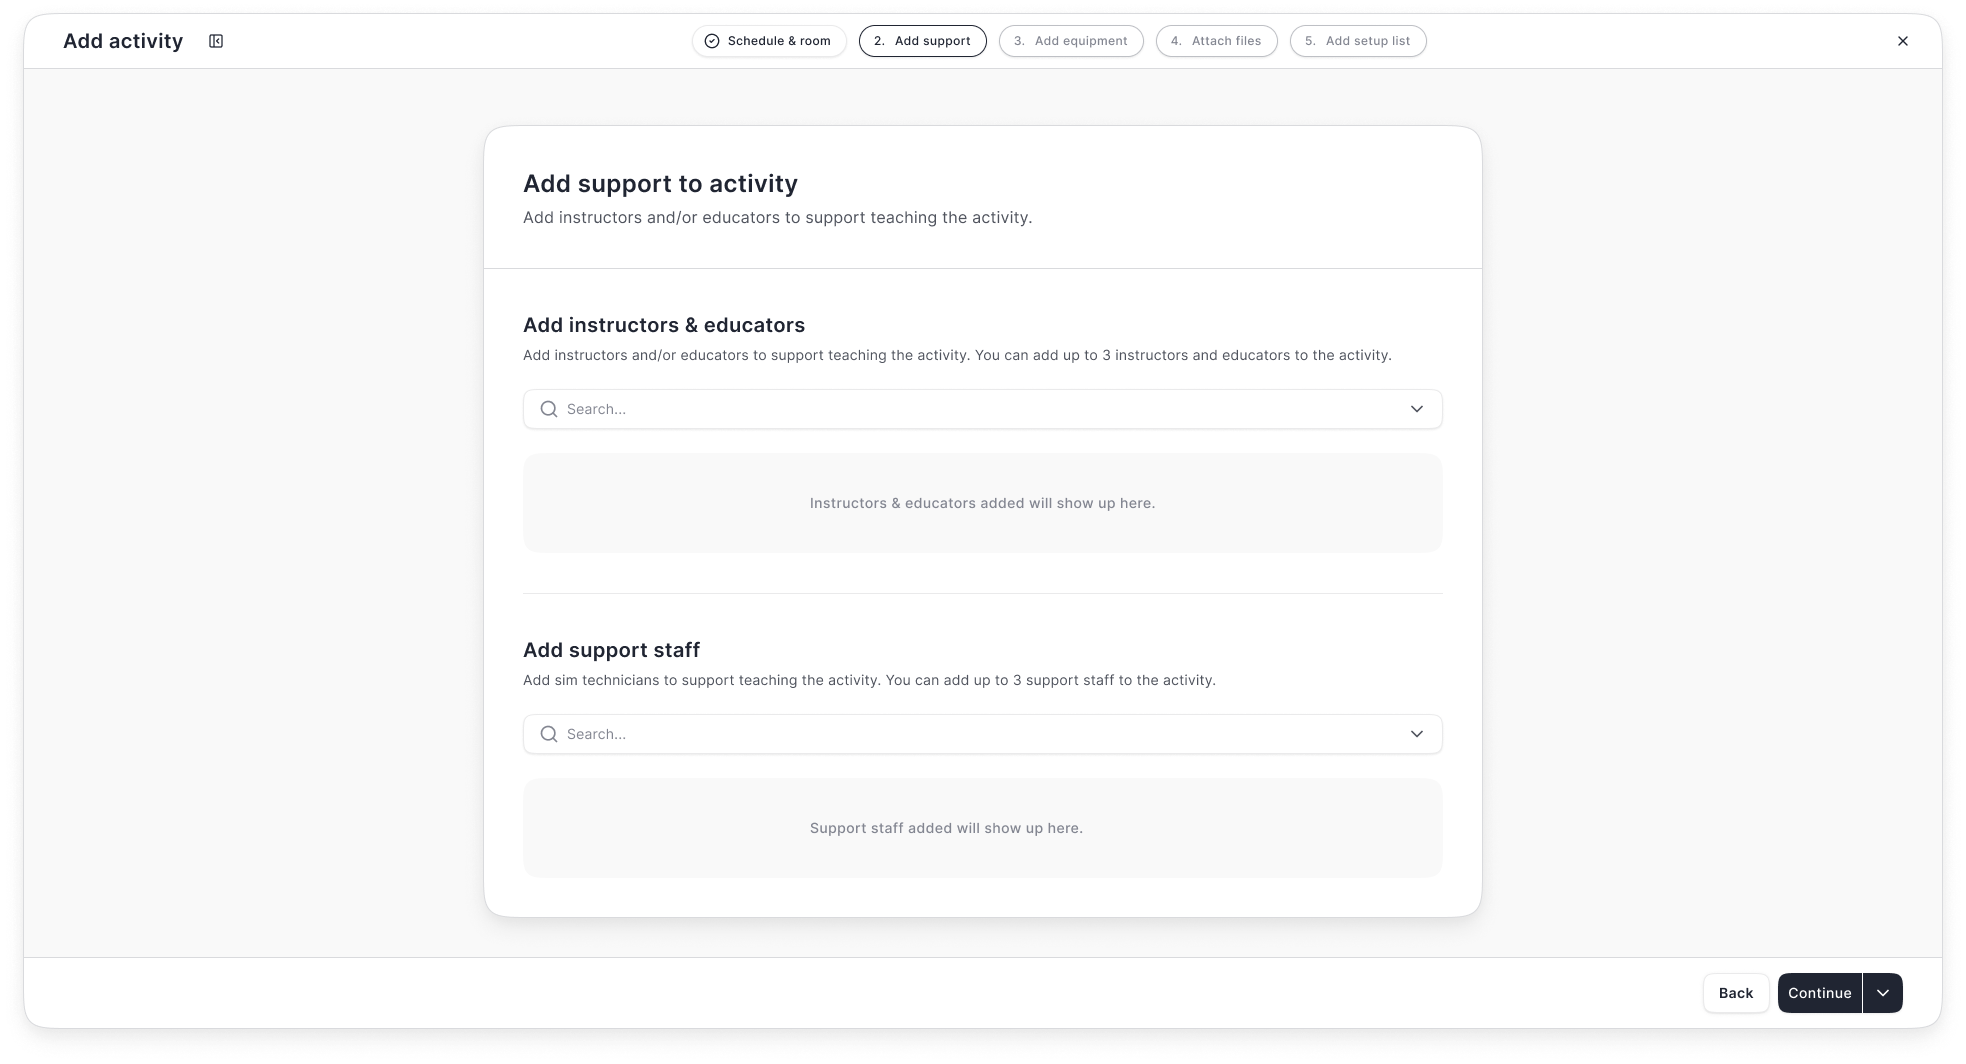
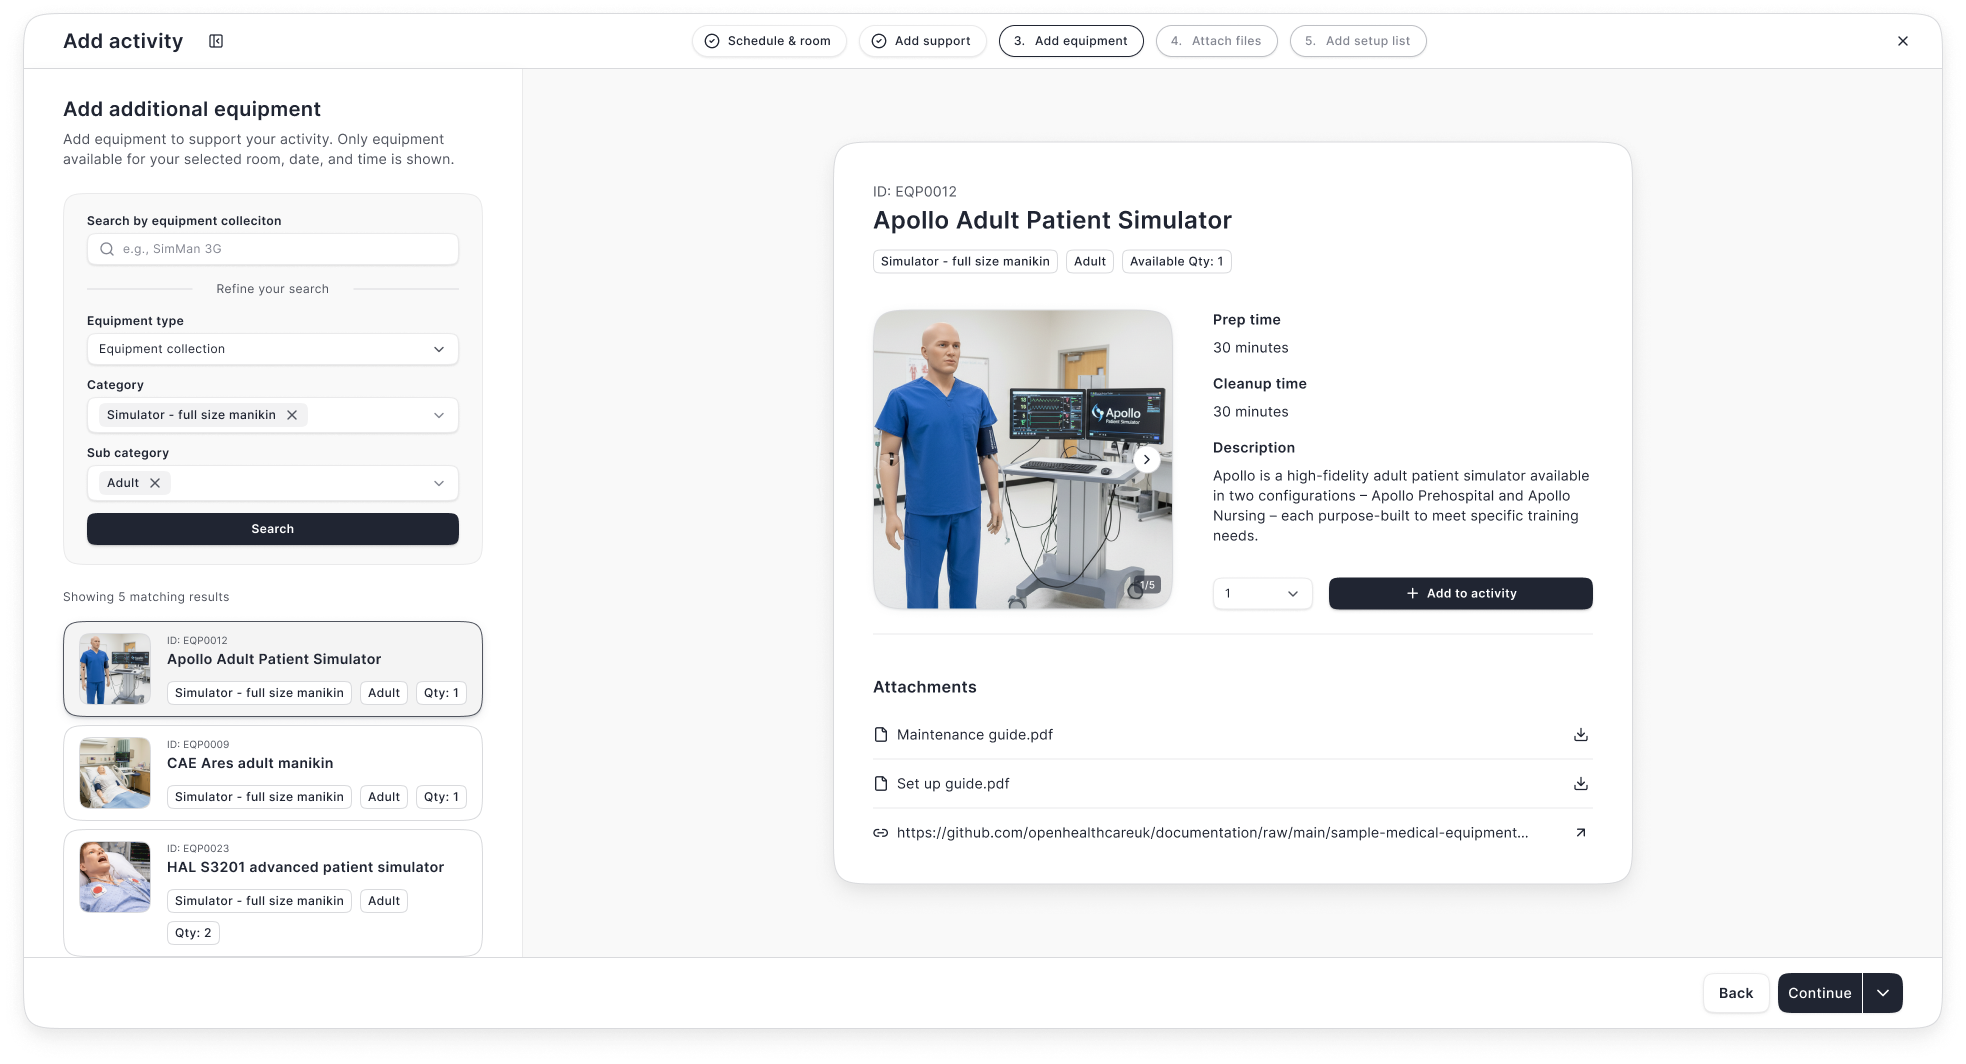
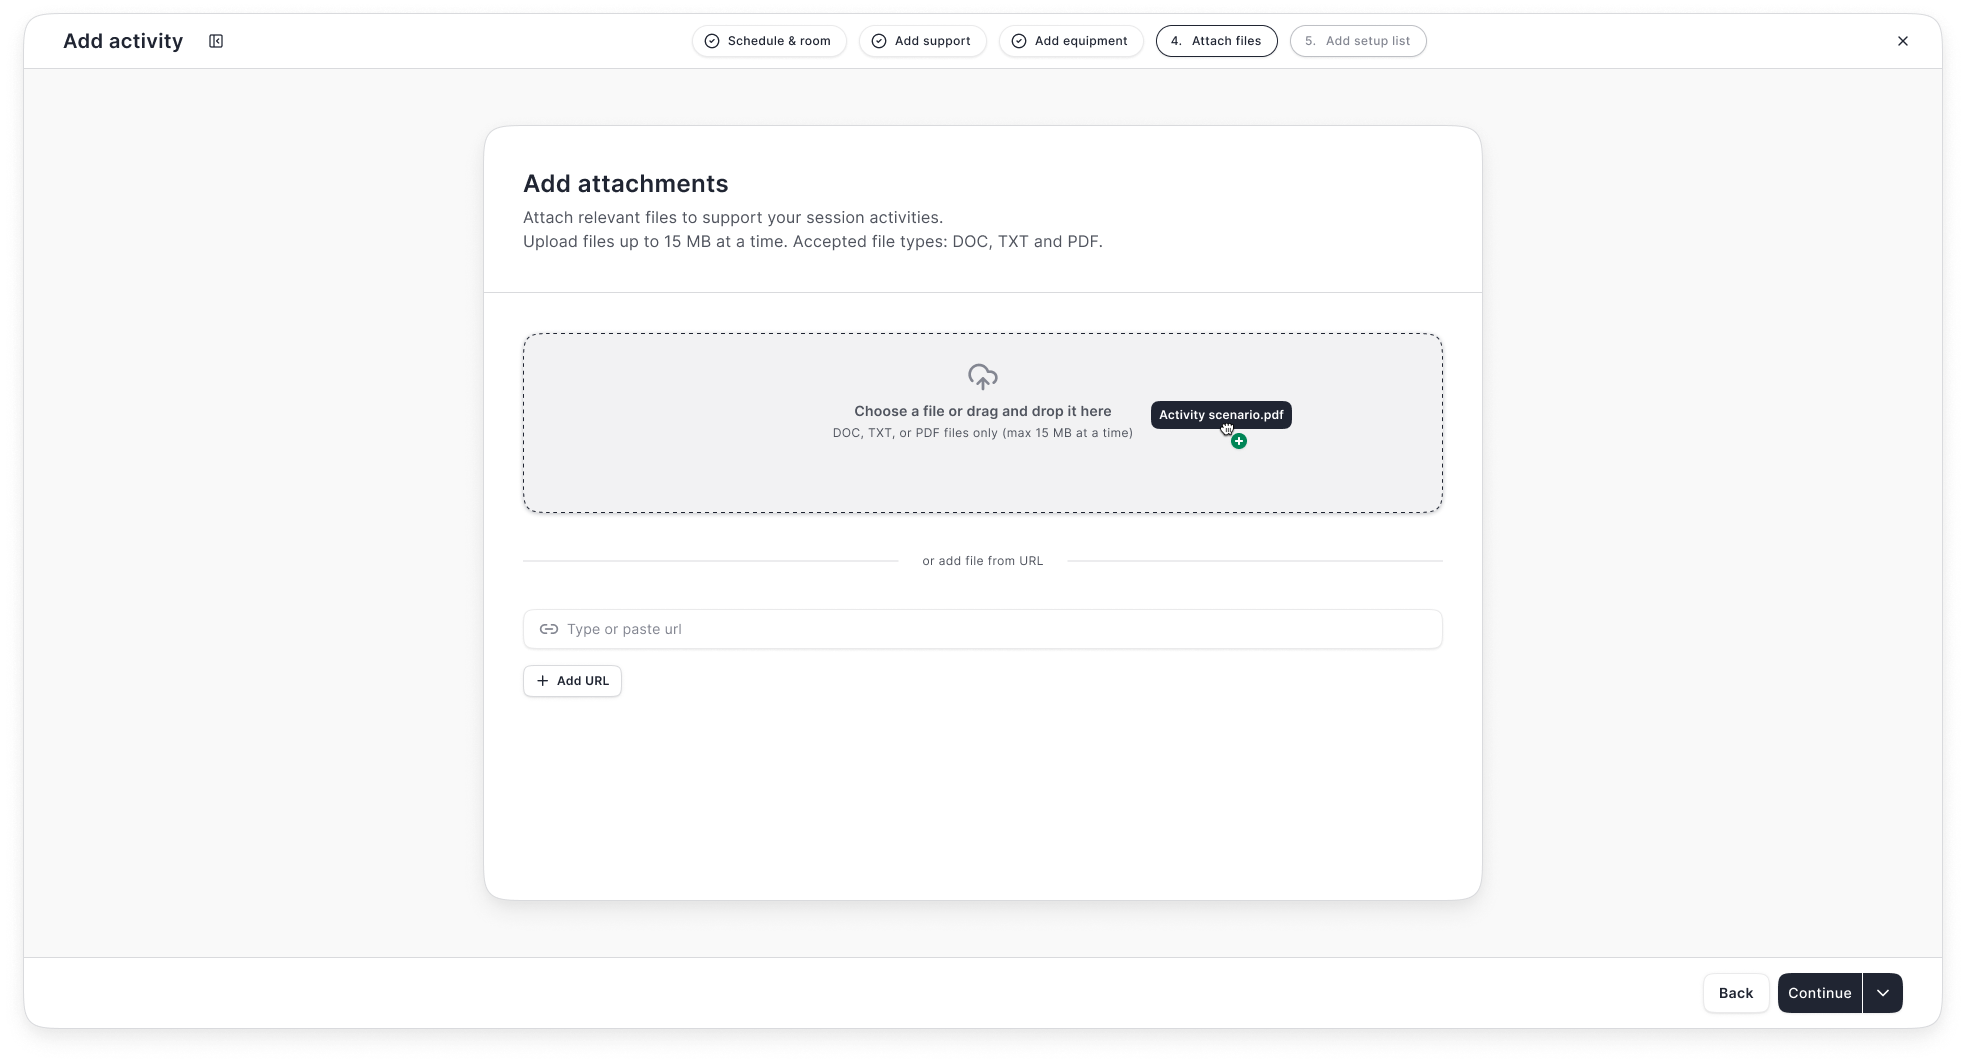
Click Add activity to populate.
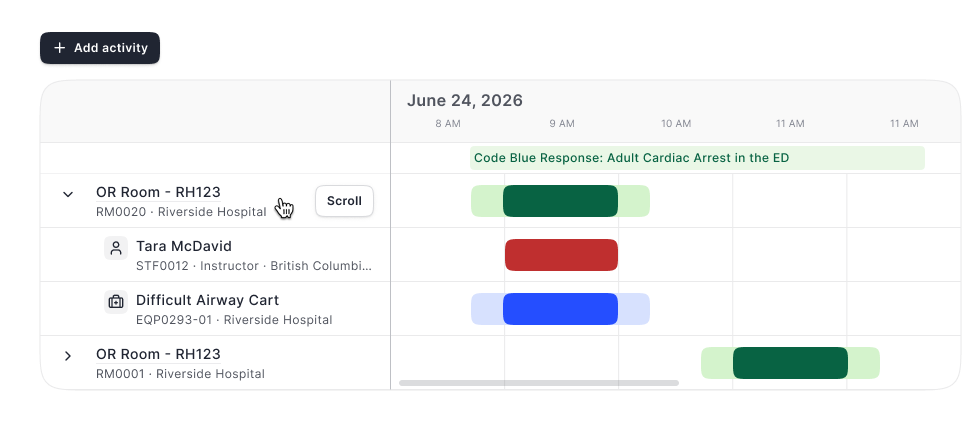
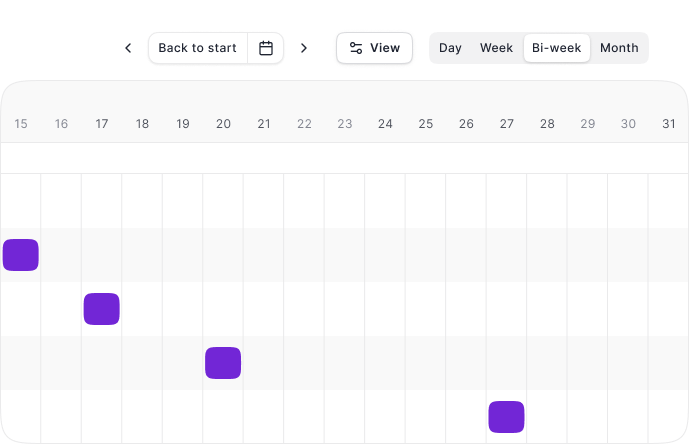
Once you add an activity, it will automatically populate on the session timeline. The timeline provides a visual overview of how your session is structured and helps you manage scheduling.
View and modify activity details: Click on the room name to expand each activity to see everything you’ve added, including instructors, support staff, and additional equipment. This expanded view shows you the complete picture of what’s involved in each activity.
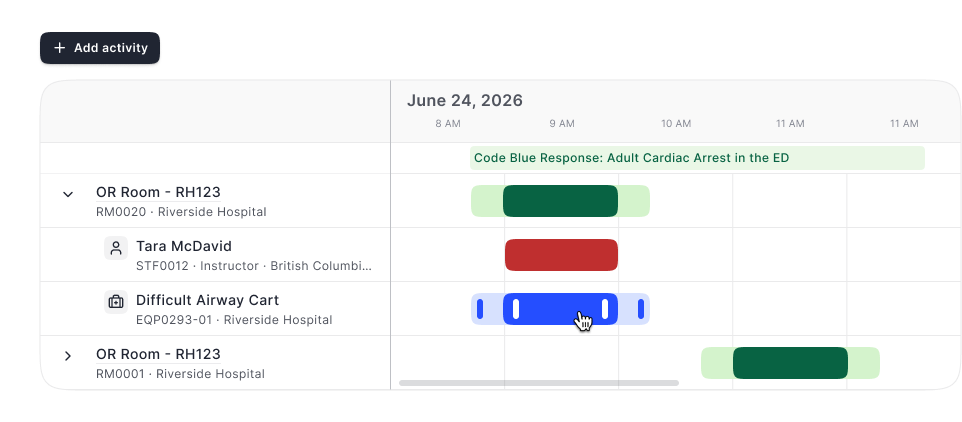
Adjusting time allocations:
Time increment view: On the right, you’ll find time increment options that allow you to view your session duration in different format for easier planning.
Click Add activity button to create additional activities for your session.
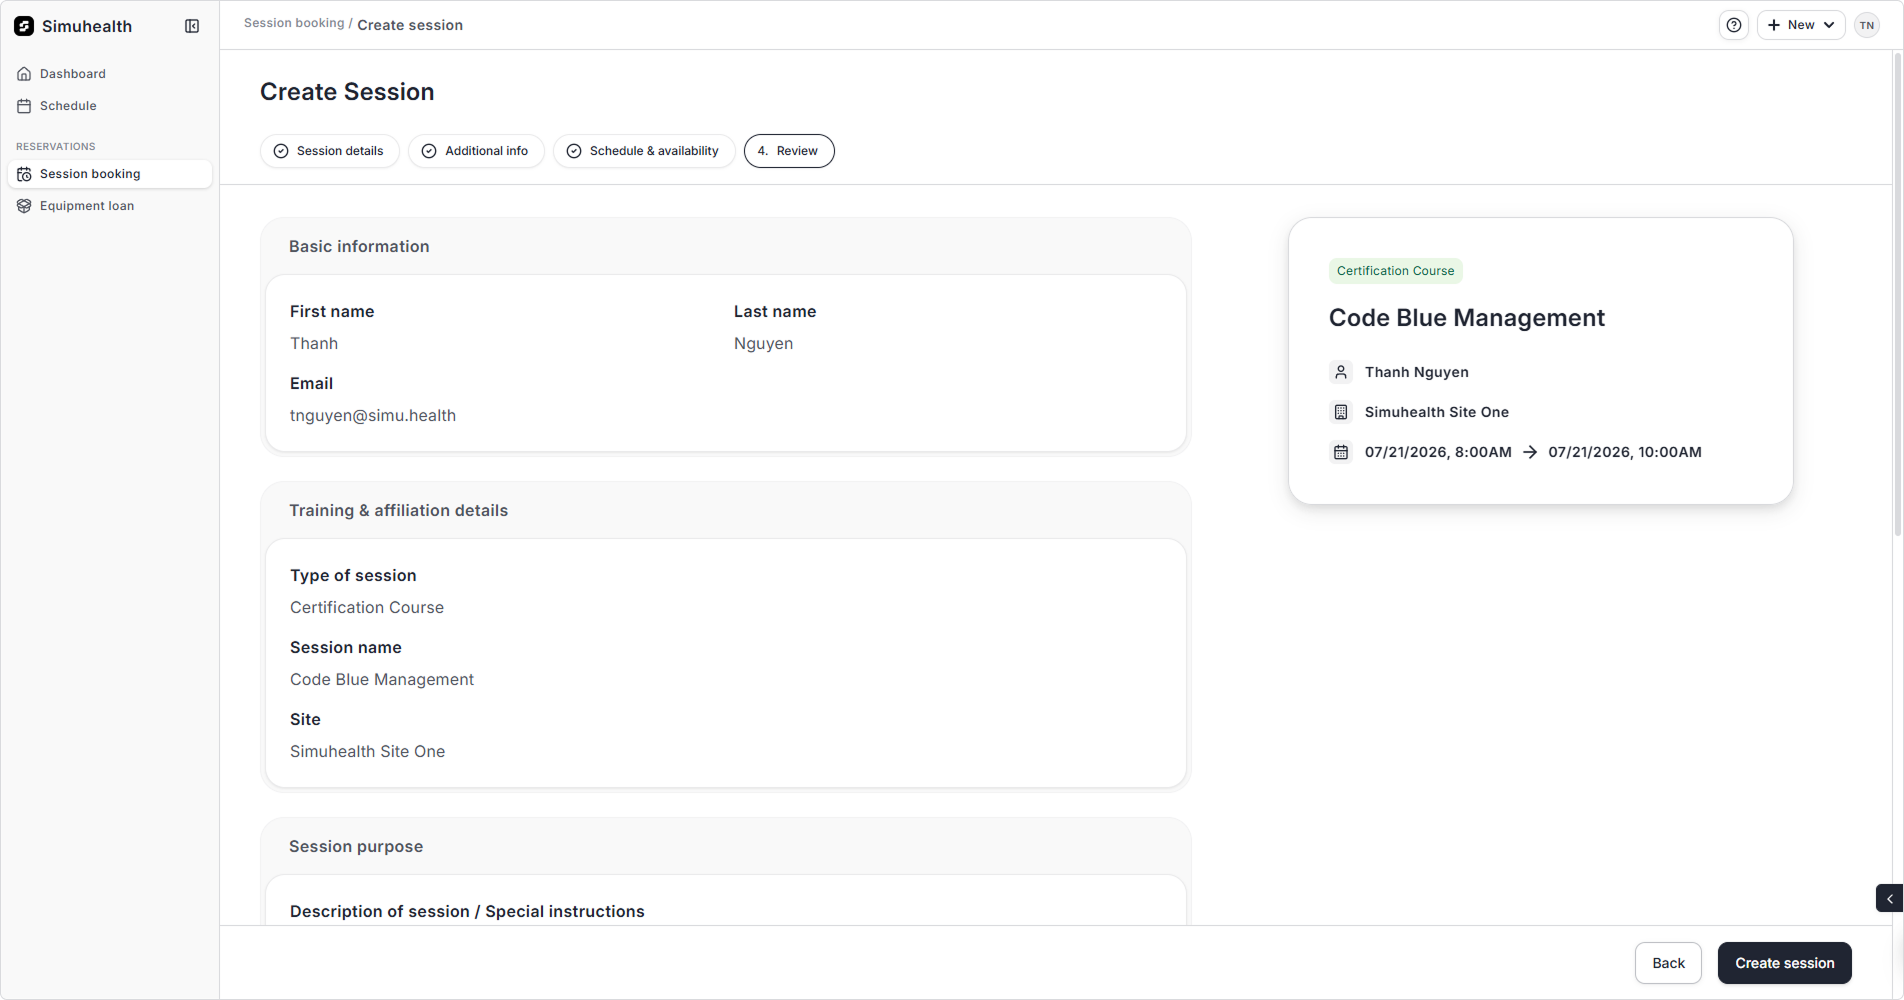
Before finalizing your session, take a moment to review all the details you've entered.
1. Review your session information and click Create session.
2. You can enter one or more emails to share the session with your peers.

As a non-admin user, your session request may be sent to admins for review. Once they have reviewed your session, you will receive a notification regarding your booking status—whether it's been approved, or has been rejected.
